

Before getting started
Go through the Overview to generate your Widget from the CometChat Dashboard.Ensure you have:
- A WordPress site (5.0+)
- PHP 7.2 or higher
- Your App ID, Region, and Auth Key
Quick Steps to Embed CometChat Widget
1
Download the Plugin ZIP
- Download the CometChat plugin from here.
- Save the
cometchat-pro.zipfile to your computer.
2
Install & Activate the Plugin
- In WordPress Admin, navigate to Plugins → Add Plugin.
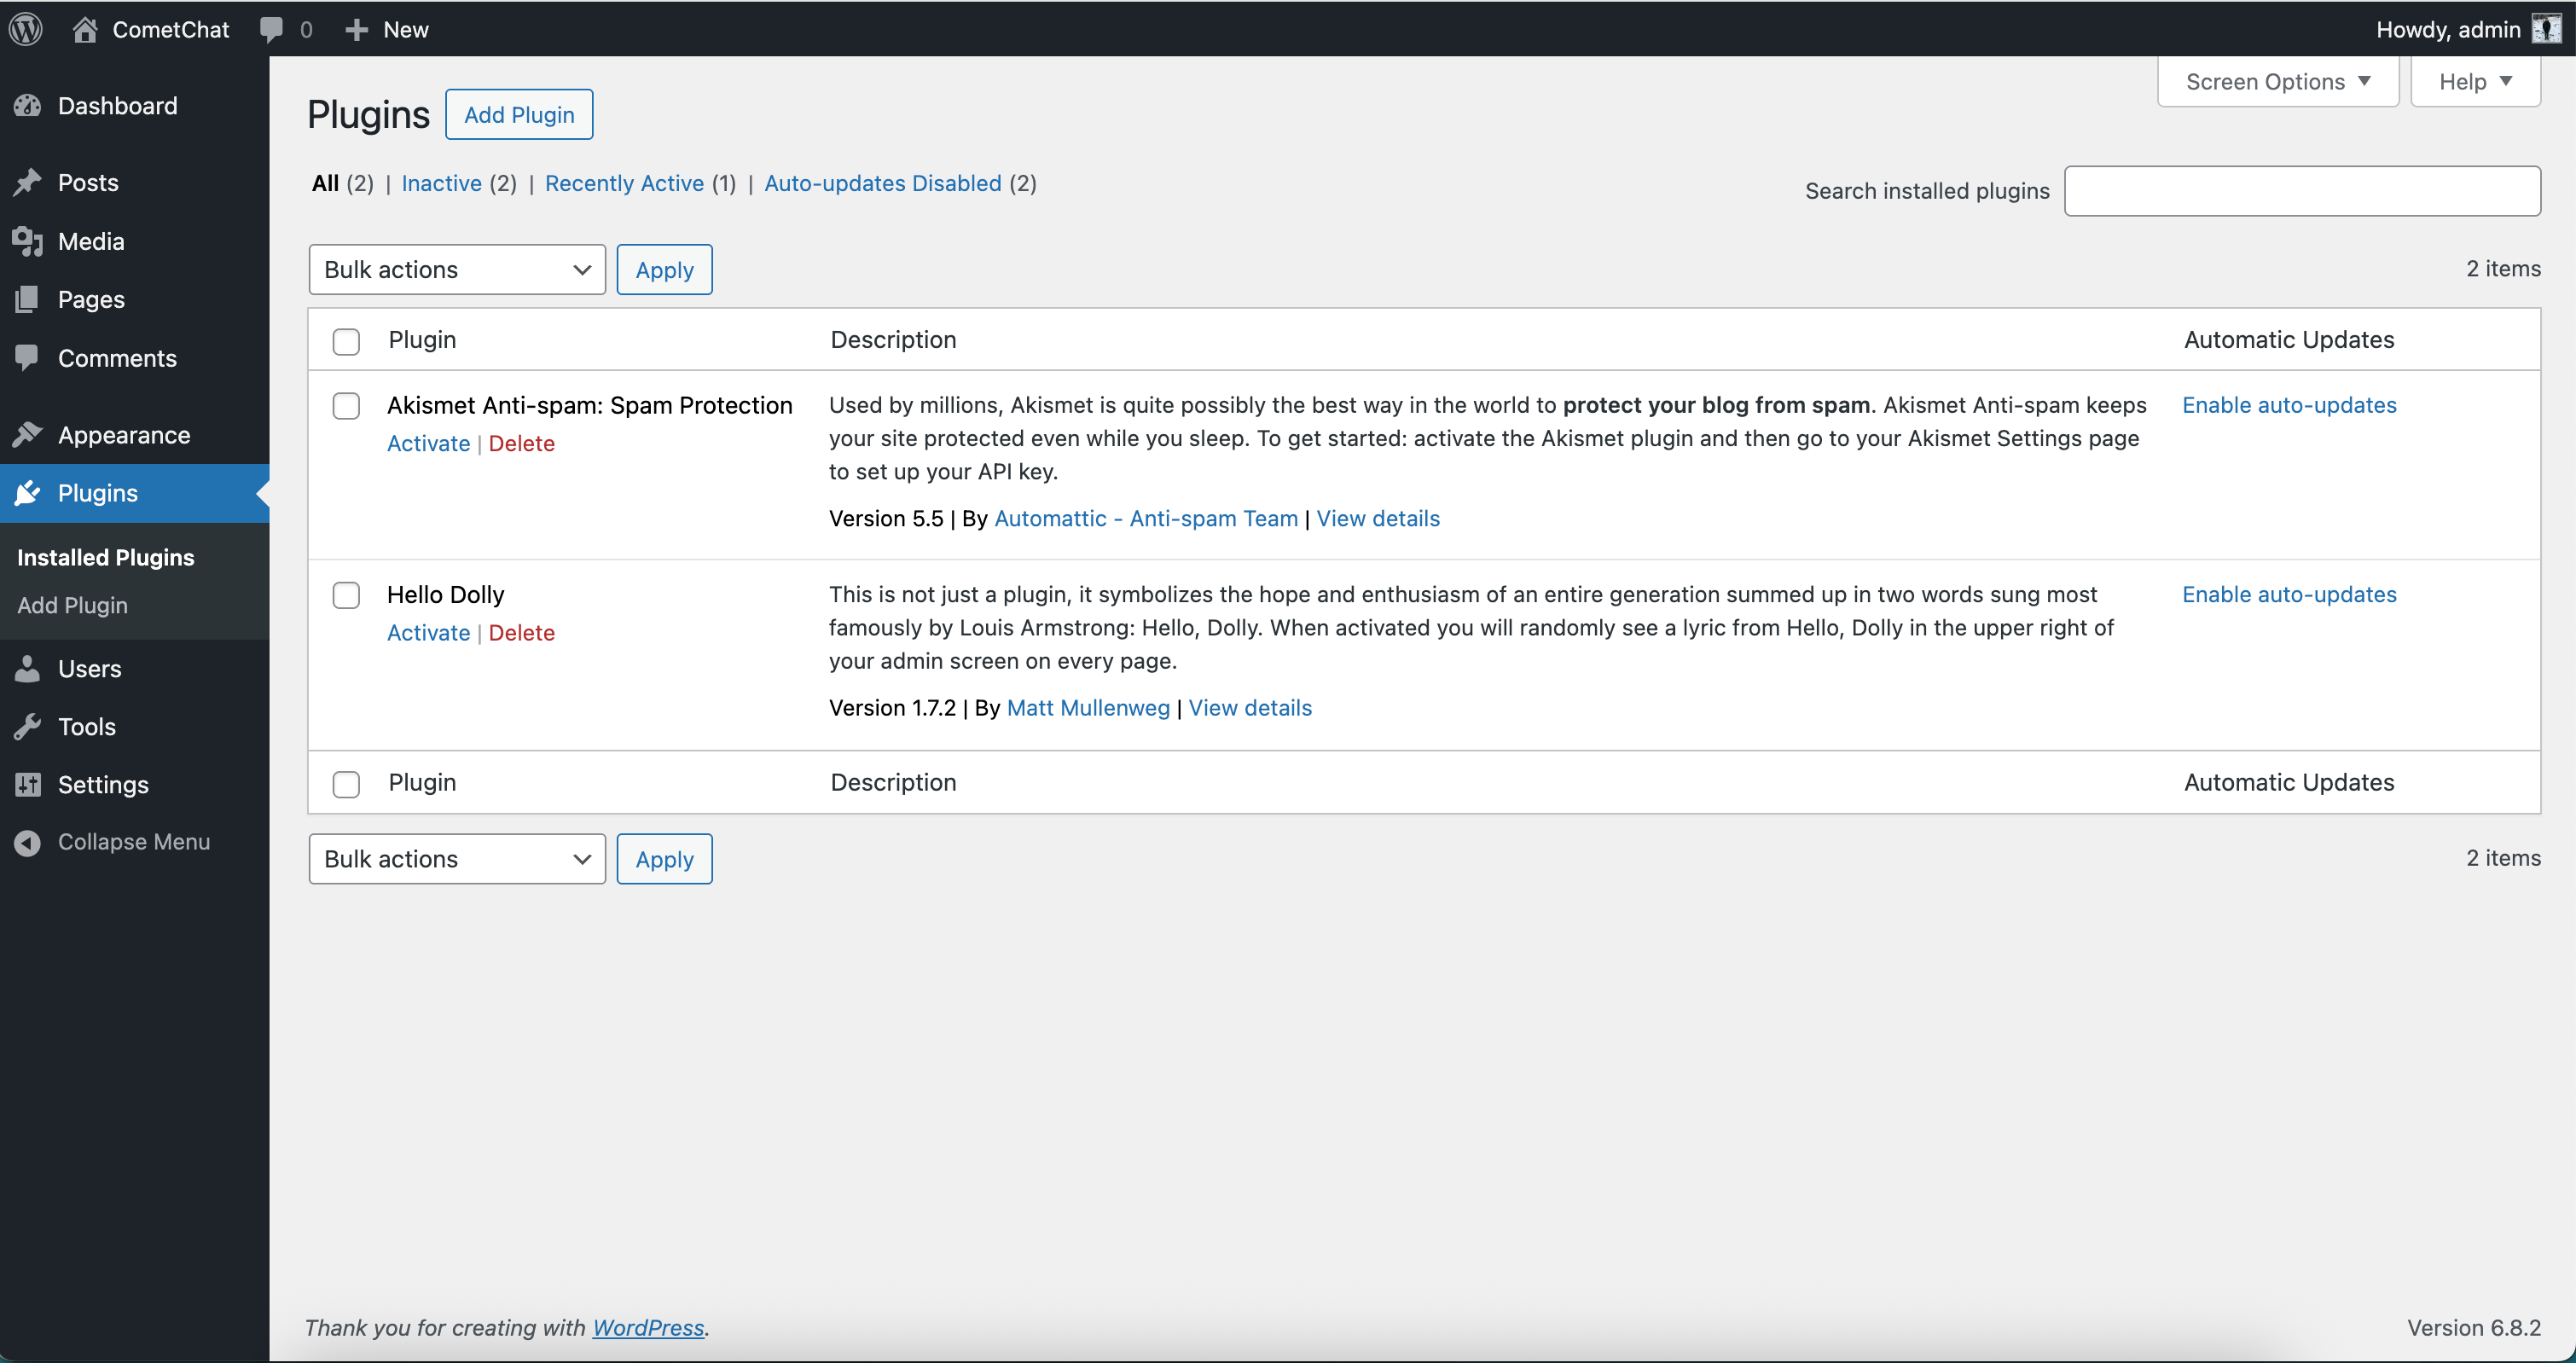
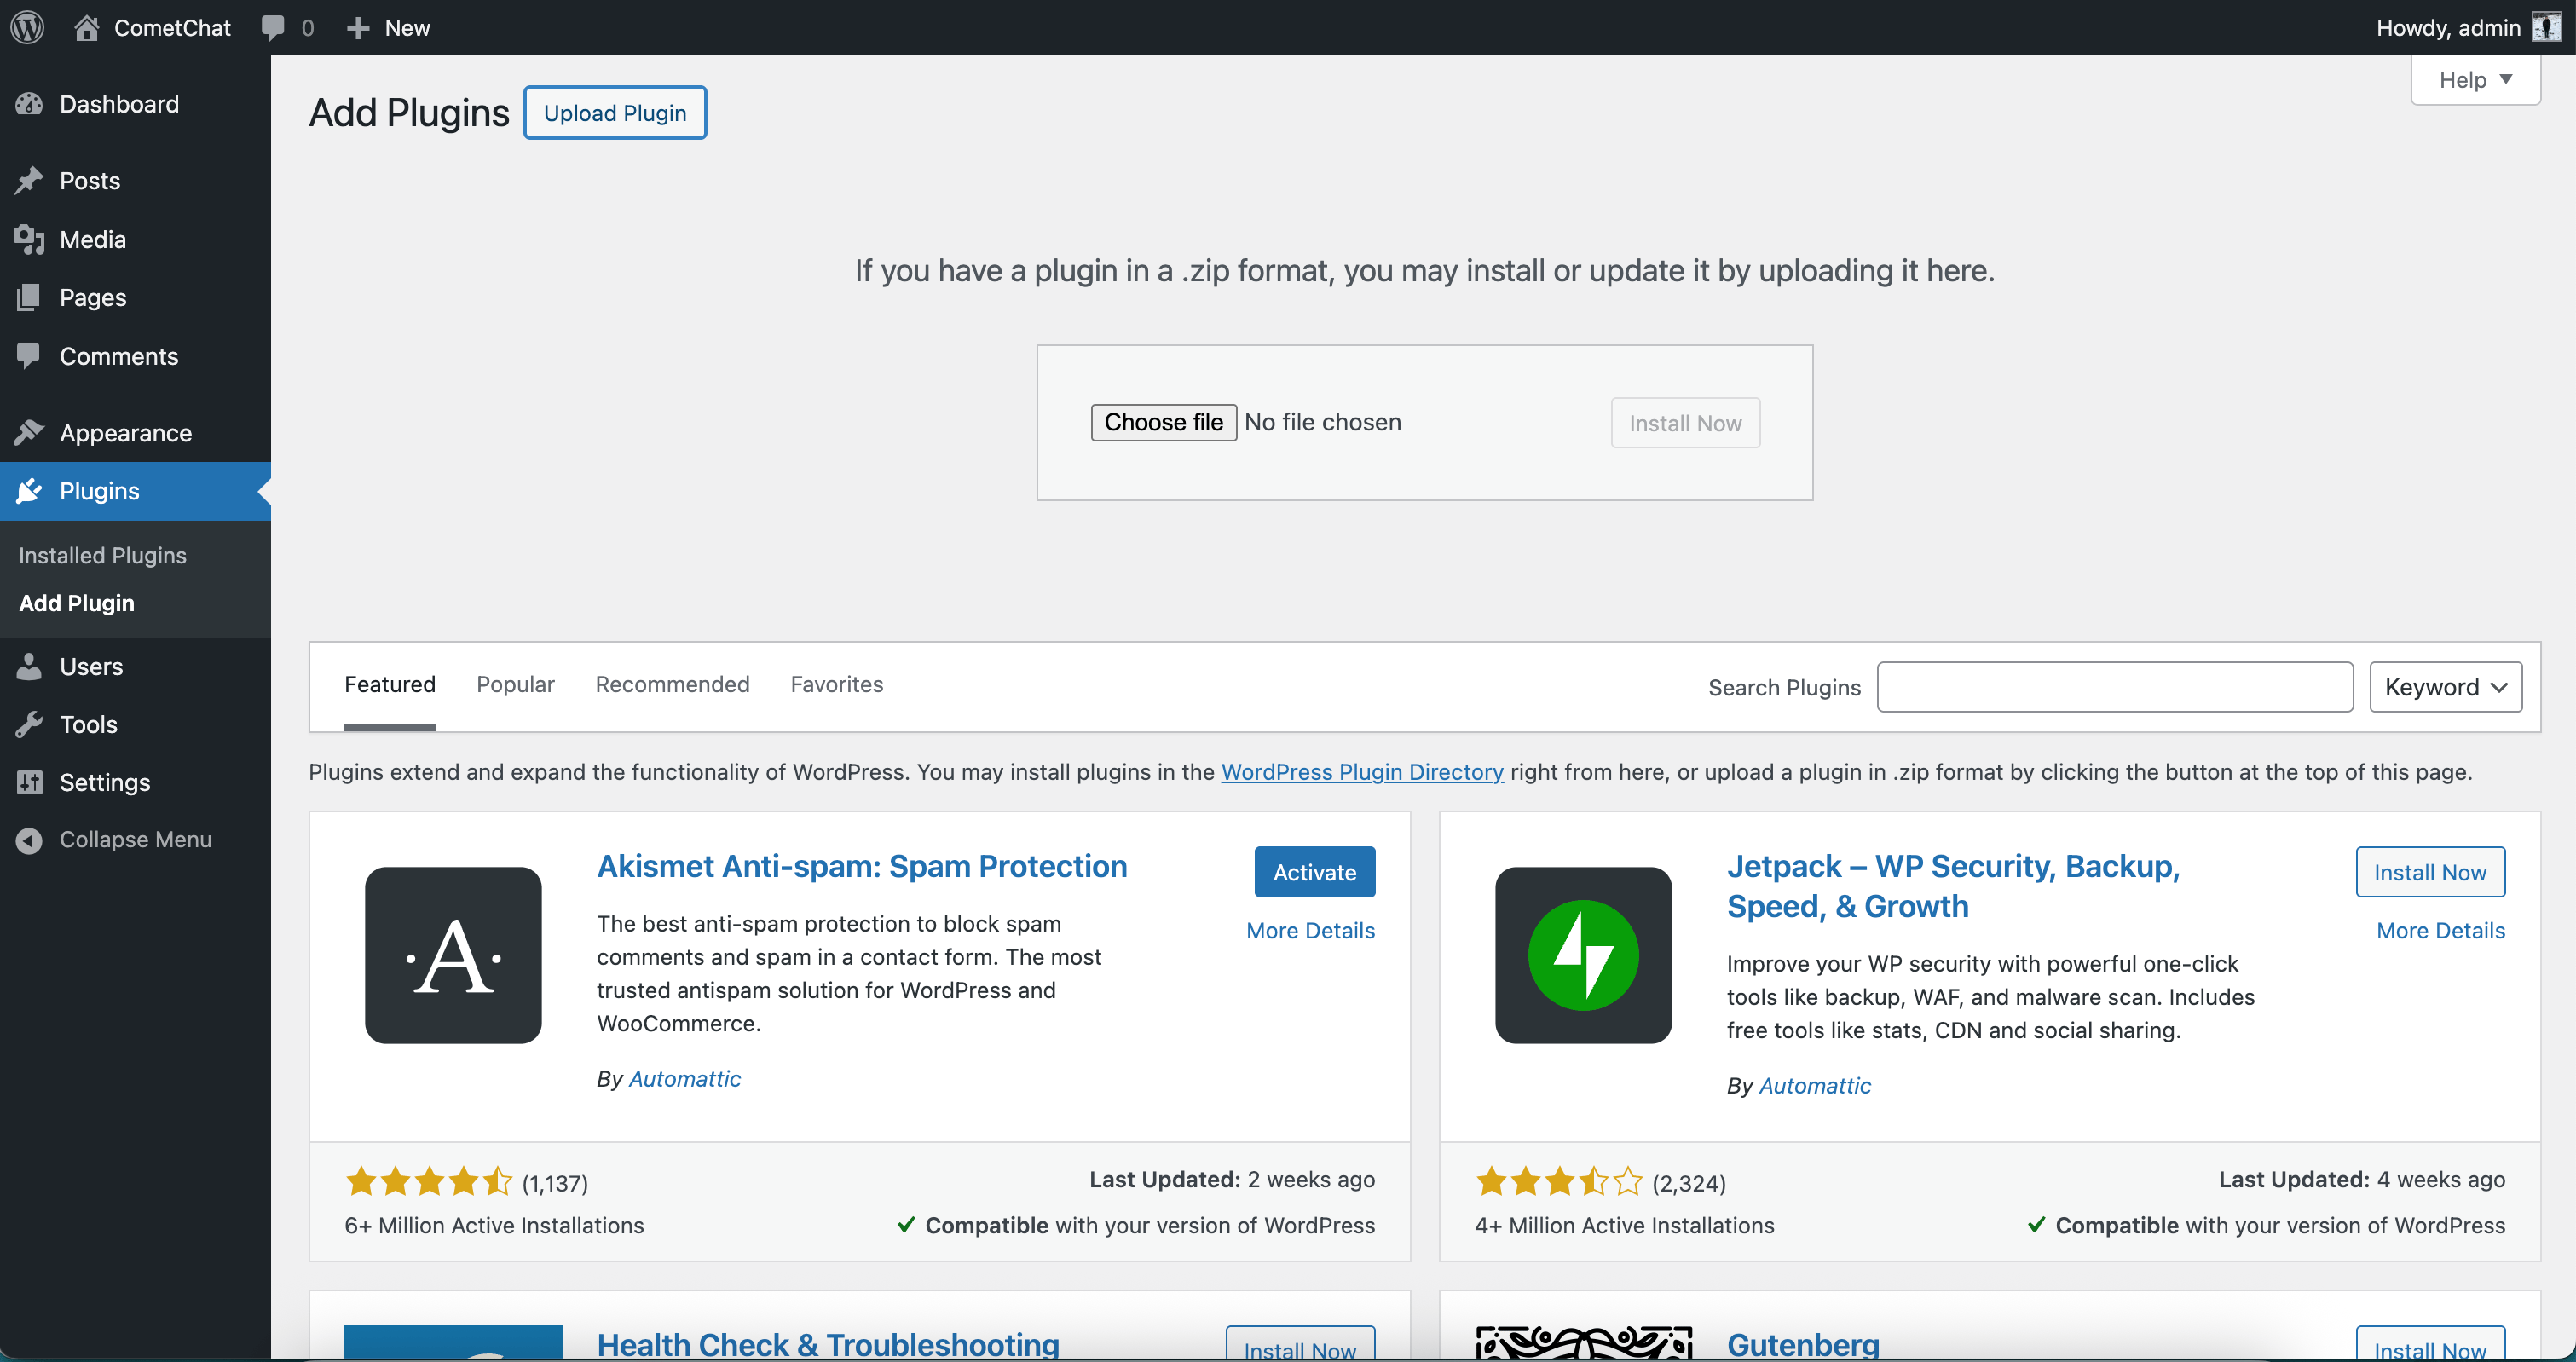
- Click Upload Plugin, choose
cometchat-pro.zip, and click Install Now.
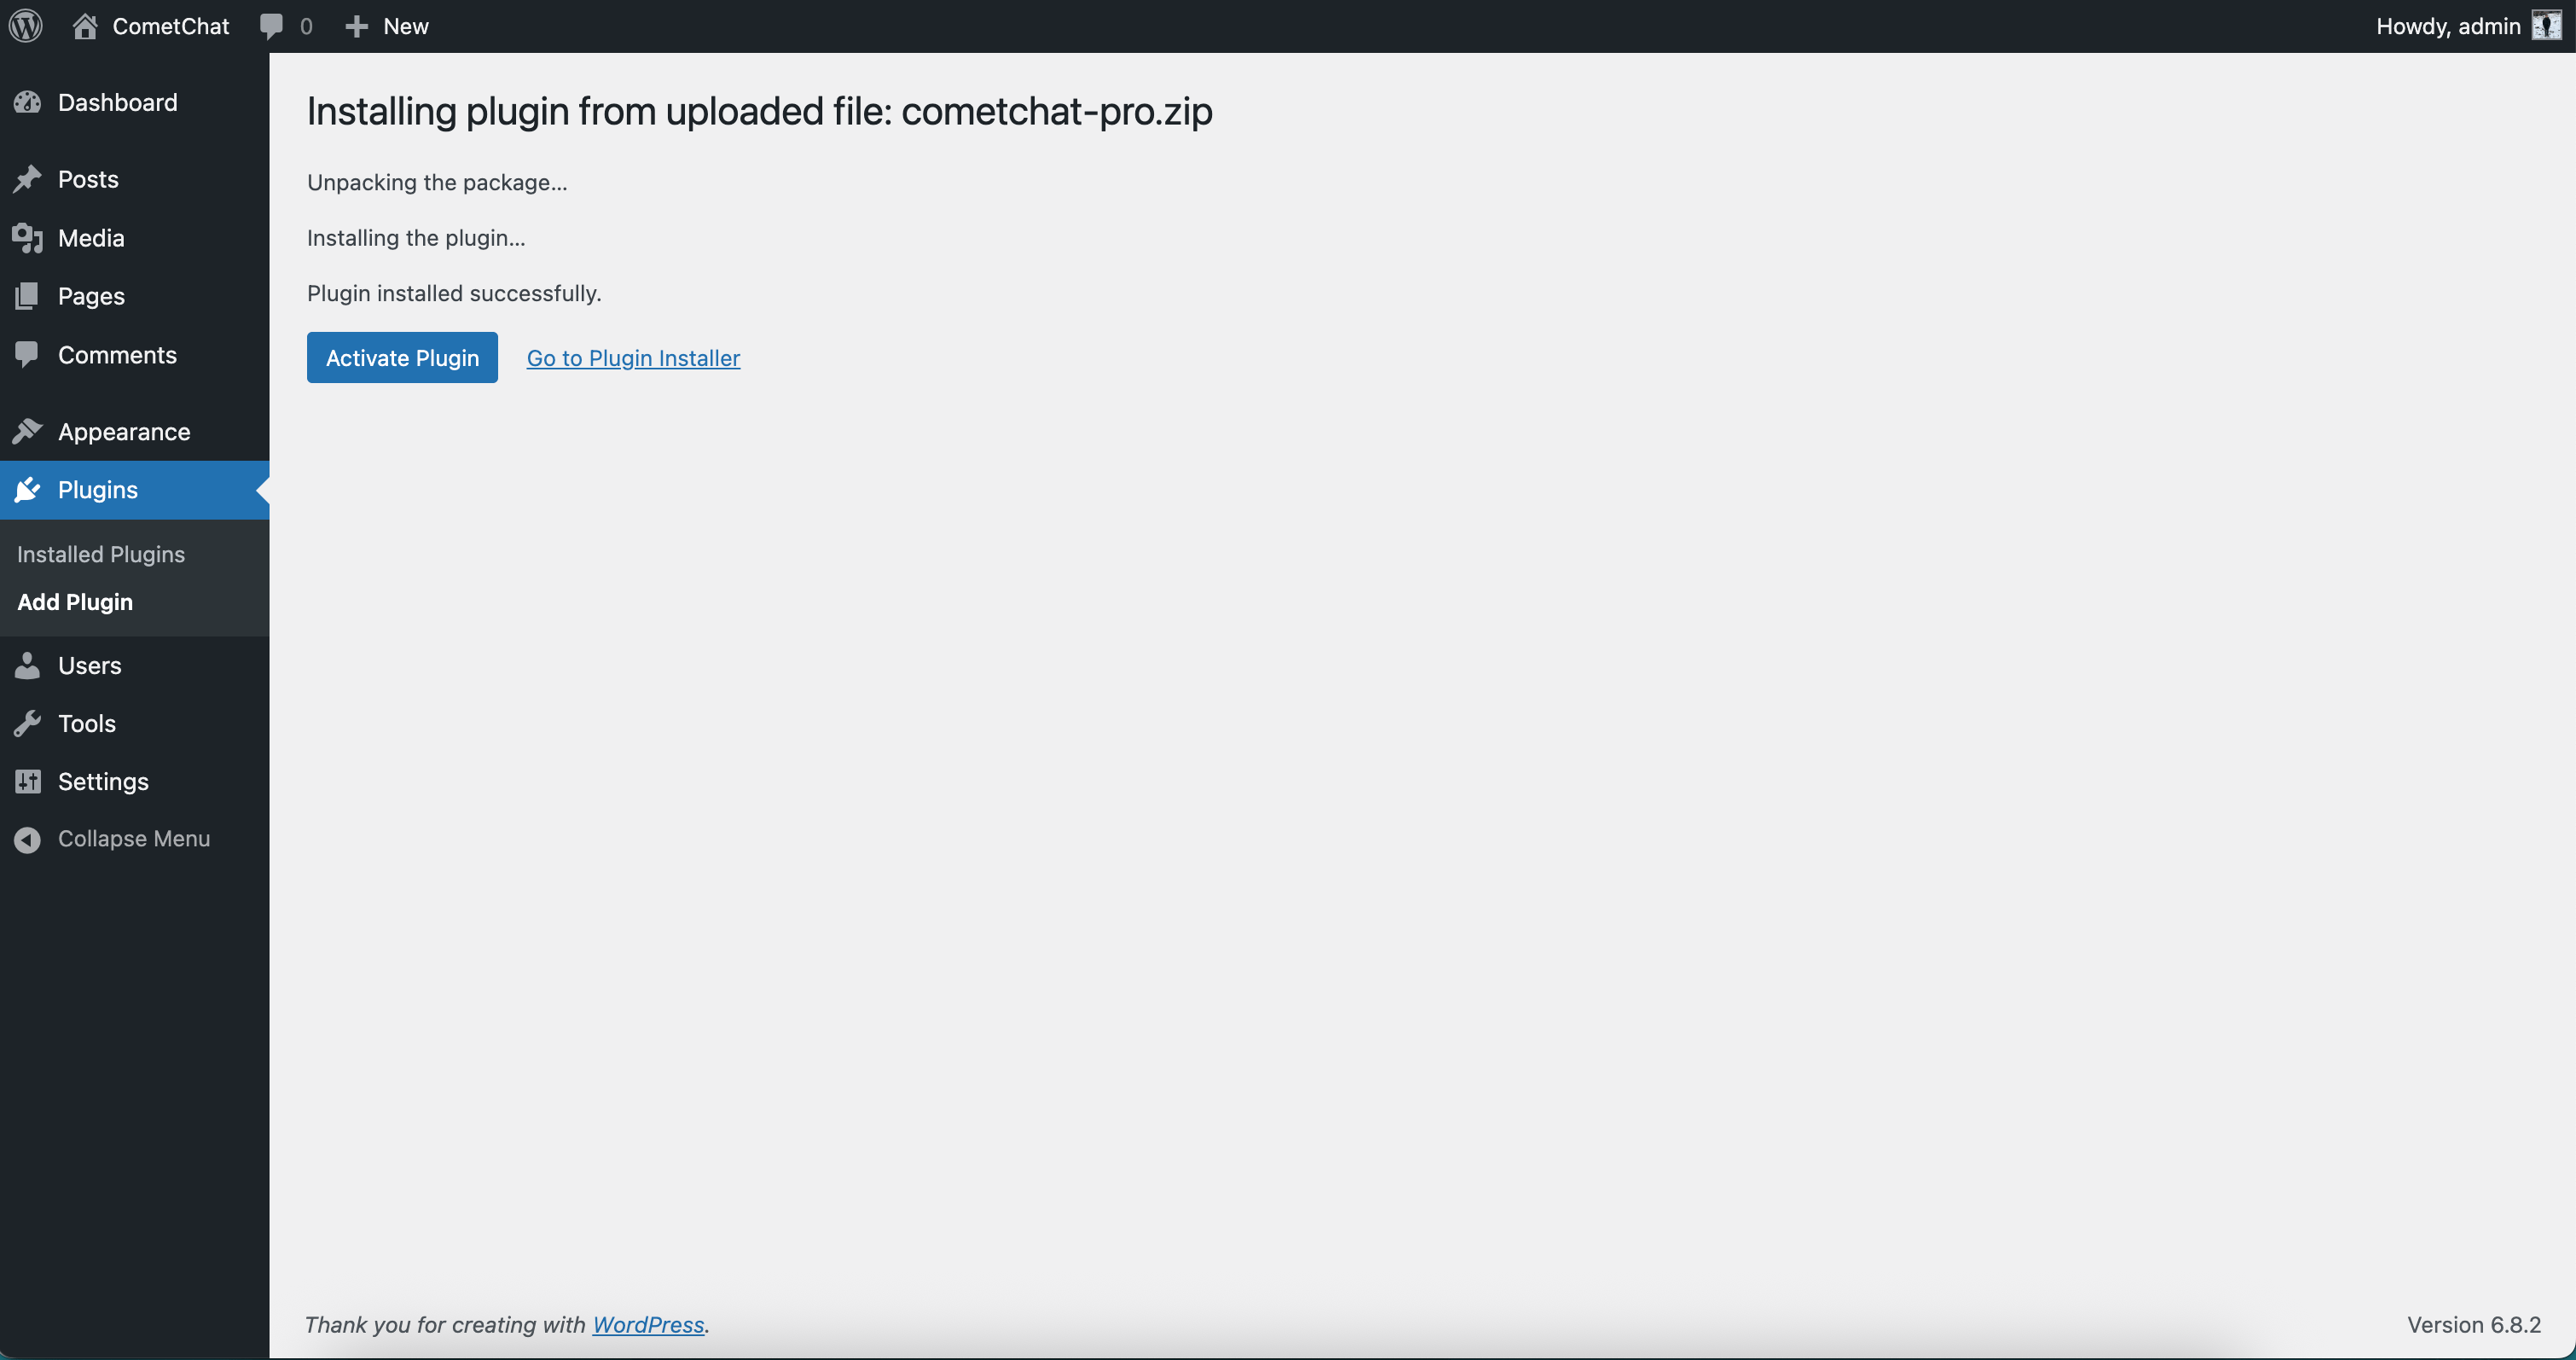
- Once installed, click Activate Plugin.
3
CometChat Credentials
To use CometChat UI Kit, you first need to register on the CometChat Dashboard.After registering, create a new app and retrieve your authentication details:
- Navigate to Application, then select the Credentials section.
-
Note down the following keys:
- App ID
- Auth Key
- Region
4
Configure Plugin Settings
- In WordPress Admin, open the CometChat plugin settings (added after you activate the plugin).
- Paste your Widget ID, App ID, Region, and Auth Key, then click Save Changes.
How users are authenticated: The plugin renders the chat widget on your site’s frontend only for logged-in WordPress users — it is gated by WordPress’s
is_user_logged_in(). For each logged-in visitor, the plugin automatically maps the WordPress user to a CometChat user (UID) and signs them in with a securely generated auth token; you do not configure a fixed user UID in the plugin. Where the widget appears (inline vs. floating) is set per placement by the shortcode’s docked attribute, shown below.5
Embed Widget Inline (Embedded Mode)
- Edit any Page/Post, add a Shortcode block, and insert:
- Publish or update the Page/Post.
6
Docked Widget (Floating Mode)
- Edit any Page/Post (or site-wide), add a Shortcode block, and insert:
- Publish or update to see the widget docked on the chosen side.
7
Show the Docked Widget on Every Page
Add the docked shortcode (
docked="true") to a template that renders on every page — for example a site-wide footer, a Custom HTML block in a global widget area, or your theme’s footer template. The floating bubble will then appear across your public pages (for logged-in WordPress users).Advanced JavaScript APIs
Once the widget is loaded, interact with it via the globalCometChatApp object:
Open a chat or start a call
Use these helpers when you want the widget to jump straight to a person/group or begin a call. Drop the snippet inside your custom script and replaceUID/GUID with real IDs from your CometChat app.
Listen for widget events
Run your own code when something happens inside the widget—new message, docked bubble opened, or someone switching chats. Keep the event names as shown; just change what happens inside each arrow function.Change the widget language
The widget auto-detects the browser language, but you can force it to any supported locale. Run the helper once after the widget loads and swap in the language code you need.
Need another locale? Use the same pattern with its code (for example
CometChatApp.localize("ko") for Korean).
Anonymous & guest access
Because the widget is gated by WordPress login, visitors who are not signed in to WordPress won’t see it by default.- Member sites: no extra setup — your existing WordPress login is the gate, and the plugin authenticates each signed-in member automatically.
- Guest / anonymous chat: provide a WordPress-side guest sign-in so the visitor becomes a logged-in WordPress user (for example, sign the visitor into a shared guest account on page load). The plugin then maps that guest to a CometChat UID and authenticates them like any other user.
Customize the widget with CSS
The Widget Builder includes a Custom Code tab where you can add Custom CSS (and Custom JS) that ships with your widget. Styling uses the same--cometchat-* CSS variables used across CometChat’s UI Kits, so you can re-theme colors, typography, and spacing without editing the plugin.
Open it from the dashboard: Chat & Messaging → Get Started / Integrate → No Code → WordPress → Widget Builder → Custom Code tab.
Example — override the primary color and font:
Troubleshooting
- Plugin upload fails: Ensure the ZIP is intact and WordPress has write permissions.
- Settings not saving: Temporarily disable caching/minification plugins.
- Shortcode not working: Verify the
[cometchat]syntax and saved settings. - JavaScript errors: Check browser console for missing
CometChatAppor invalid parameters.